Testing Site Wifi
The League teaches most of its classes using a set of professional programming tools that store code securely and allow editing and running the code on the web. In additional to being valuable tools for students to learn, they allow us to teach students with Chromebooks. However, these tools sometimes don’t function with some network configurations.
Running this test procedure before your students’ first class will ensure that they can being programming immediately on the first day. School administrators can run these tests themselves or a League administrator can run this test by controlling your screen in a Zoom meeting.
Run these tests on the same WiFi network that your students will use, preferably with the same type of computer they will use.
1: Get a Github Account
Github is a professional source code repository, and almost everything you do at the League will involve Github, so let’s start with creating a Github account.
If you already have an account, sign into it now.
2: Get the Source Code
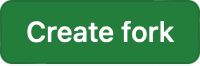
Click this button to “fork” the source code:
 Fork Repository
Then, on the next page, click on the
 button.
This will copy the whole course into your Github account.
button.
This will copy the whole course into your Github account.
When the fork is finished, Github has copied the code into your Github account, and you can start your web based programming editor.
( If you are more currious, you can visit the course repository, and then fork from there. )
3: Start the Codespace
Next, on the main repository page, look for the  button. Click on the button, and after the window pops up, click on the “Codespaces” tab. It will look like this:
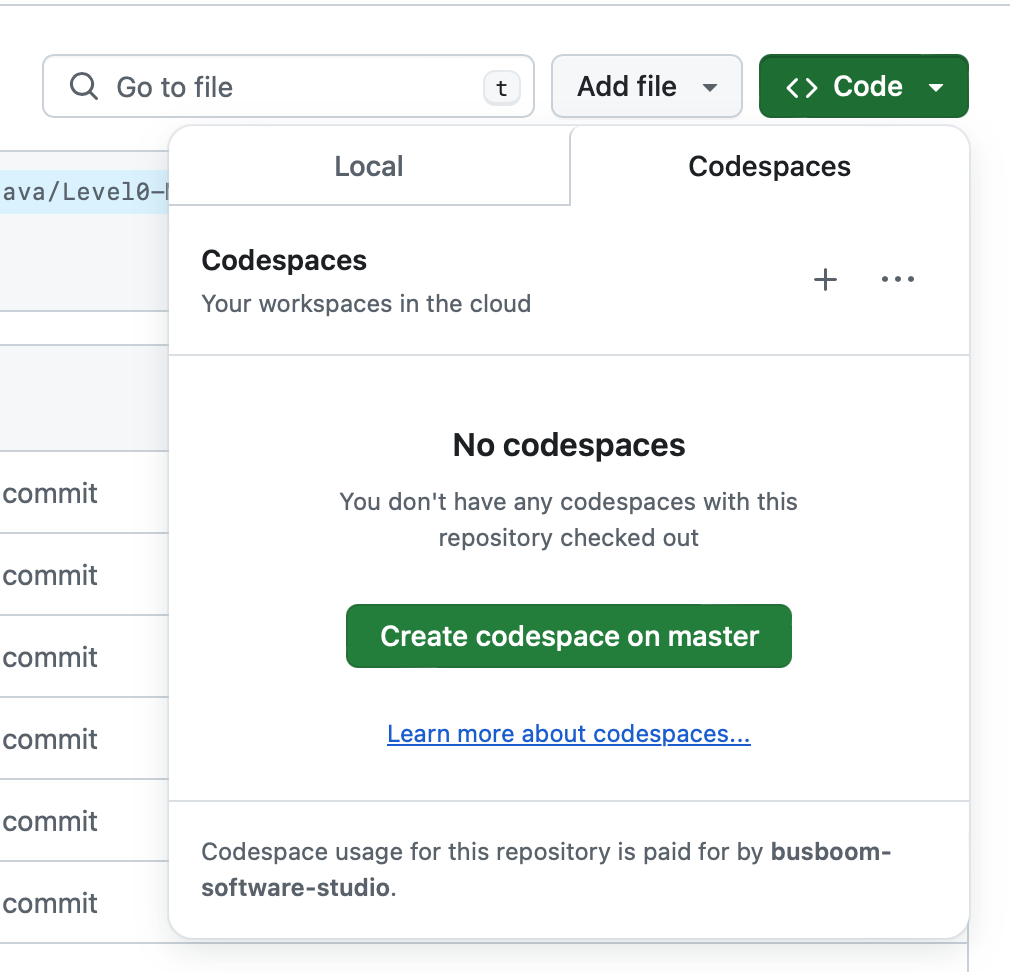
Click on the “Create codespace on master” button. A new tab or window will open, and it will read that it is “Setting up your codespace”. This may take a few minutes. When it is done – which may take 3 or 4 minutes — you will have a Visual Studio Code window, which will look something like this:
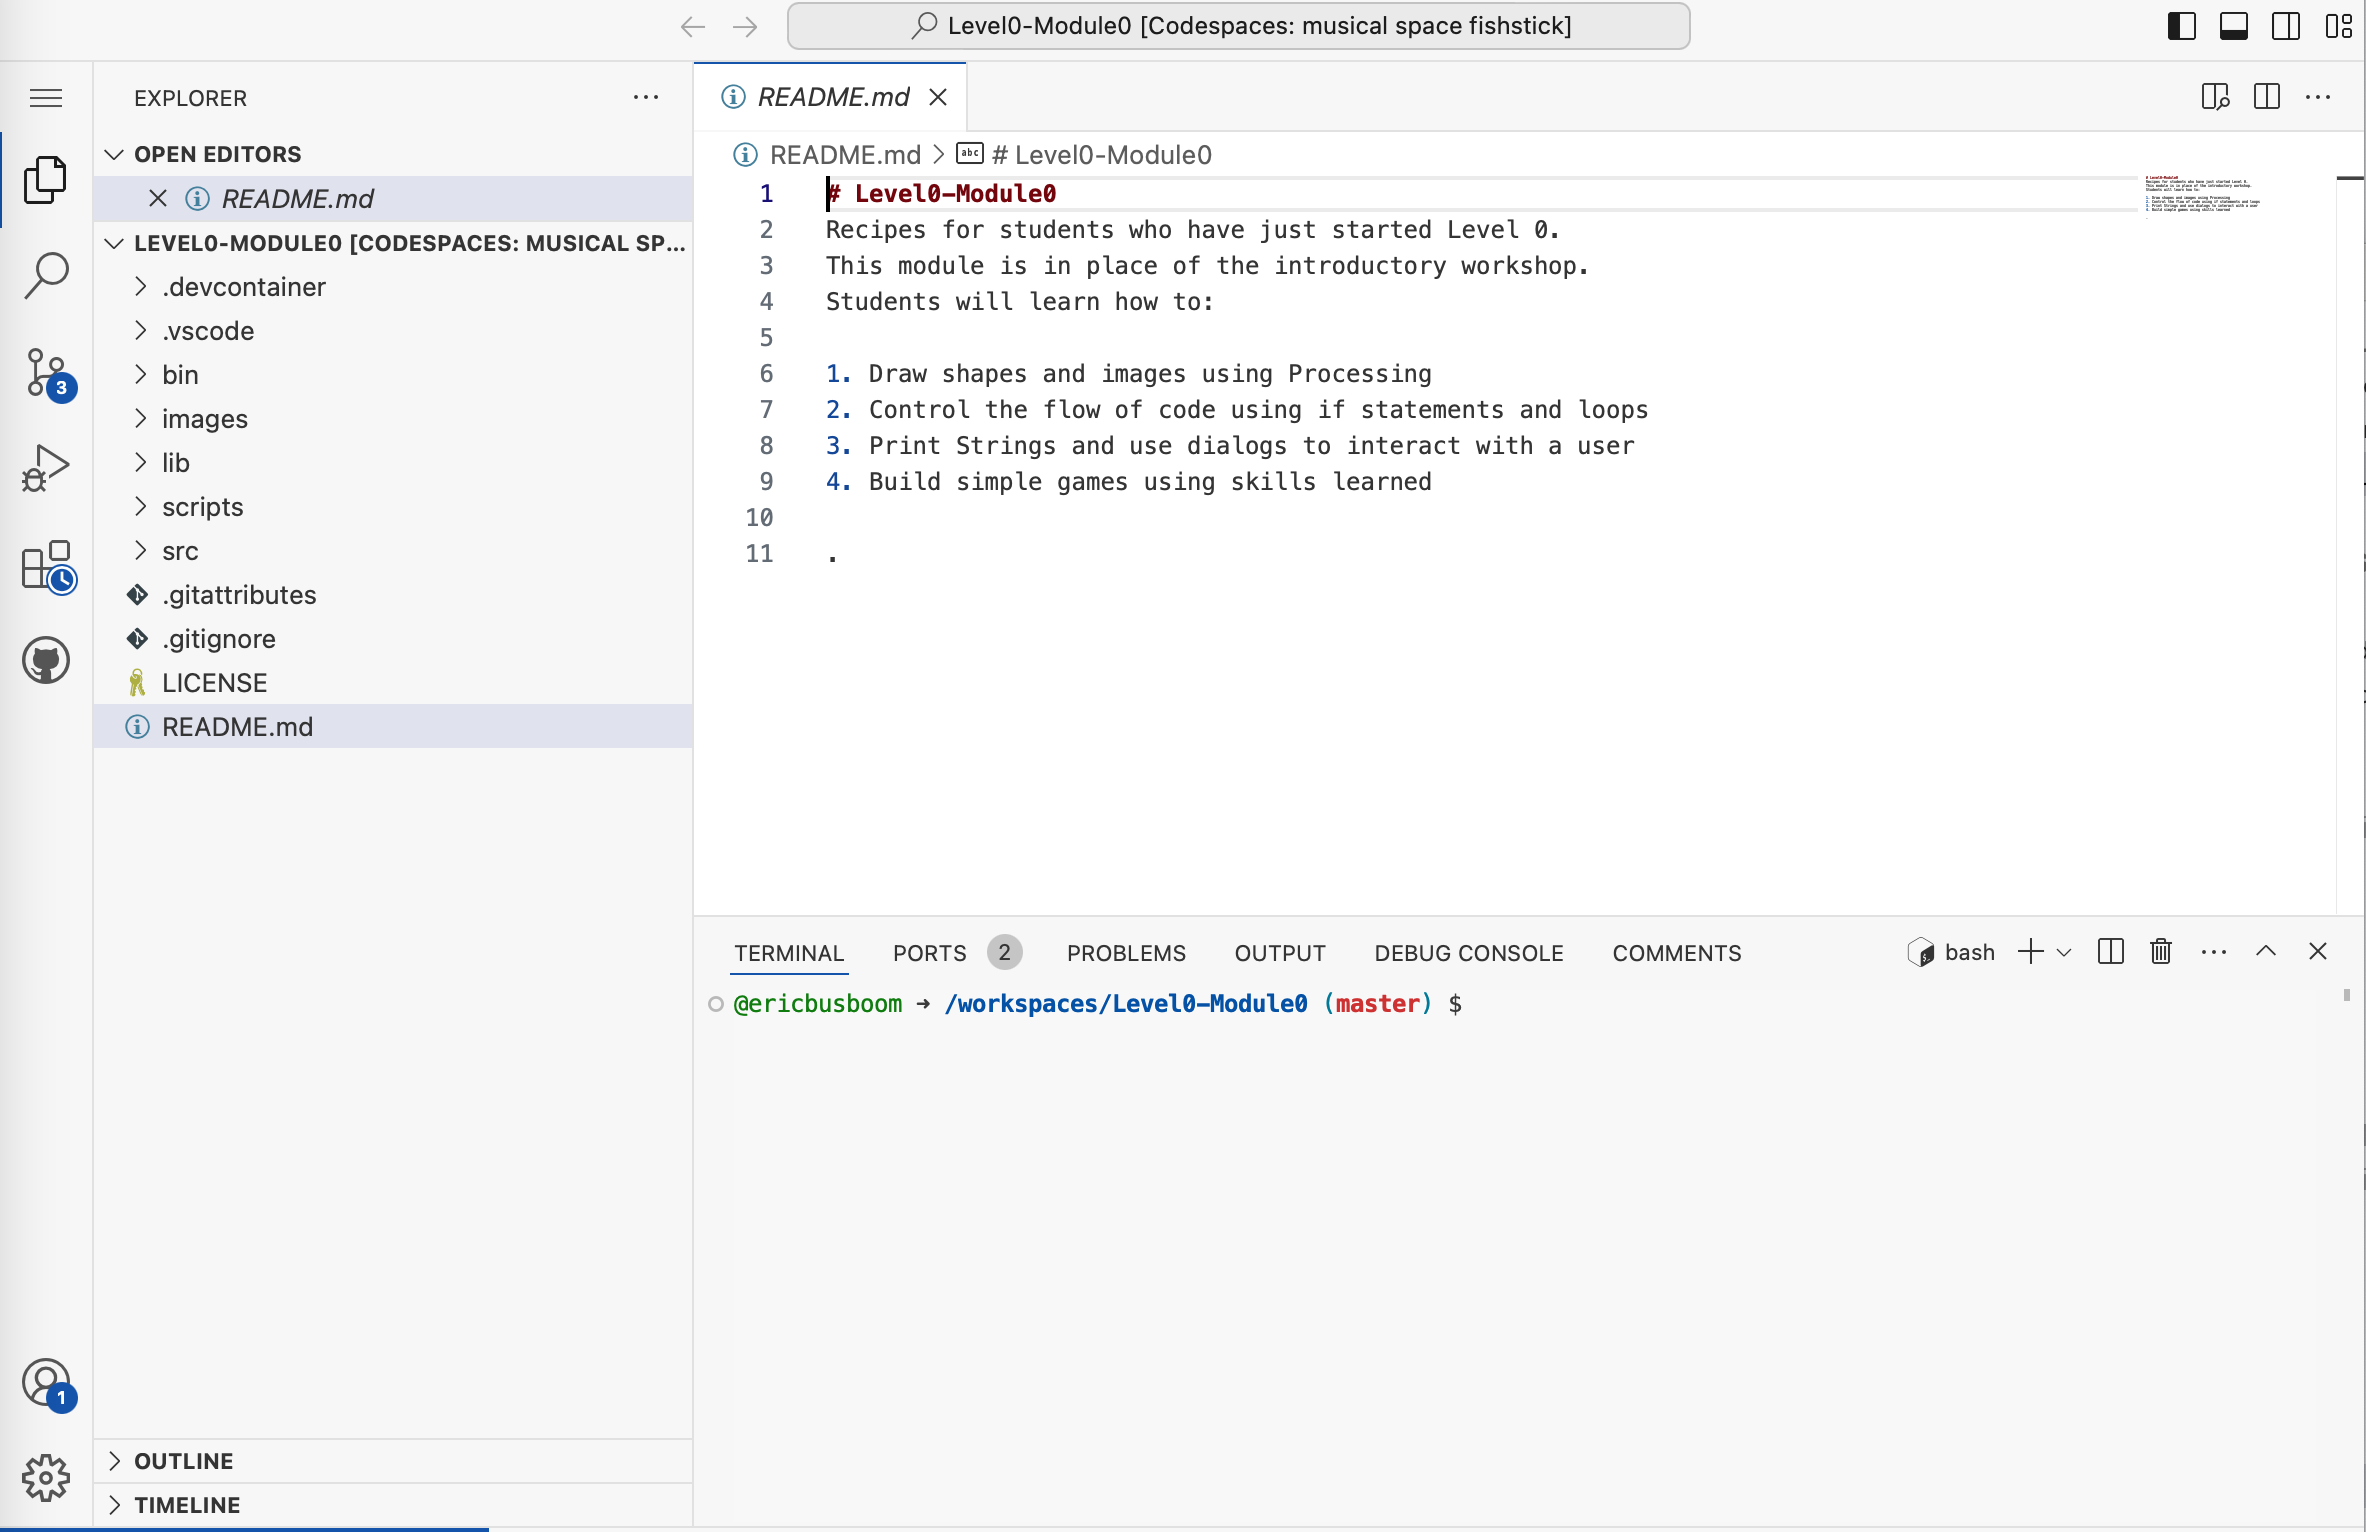
You are ready to start your lessons. You editor window should be displaying the README file, and
at the bottom of that file it will tell you which lesson to start with, lessons/lessons/00_Turtles/01_Get_Started.ipynb
4: Open a Virtual Screen
Your Codespace is running your code in a data center far away, and it doesn’t have a screen, so if you want to see your program output, you have to create a virtual screen.
In the bottom pane of the VSCode window, click on the “PORTS” tab. ( If you don’t see a “PORTS” tab, you probably can skip this step. )

Hover over the “Forwarded Address” for port 6080. You will see a small icon that
looks like  .
Click on it. This will open a new browser window with a “noVNC” logo.
.
Click on it. This will open a new browser window with a “noVNC” logo.
You might need to drag the browser window to the right side of the screen. Your screen should look something like:
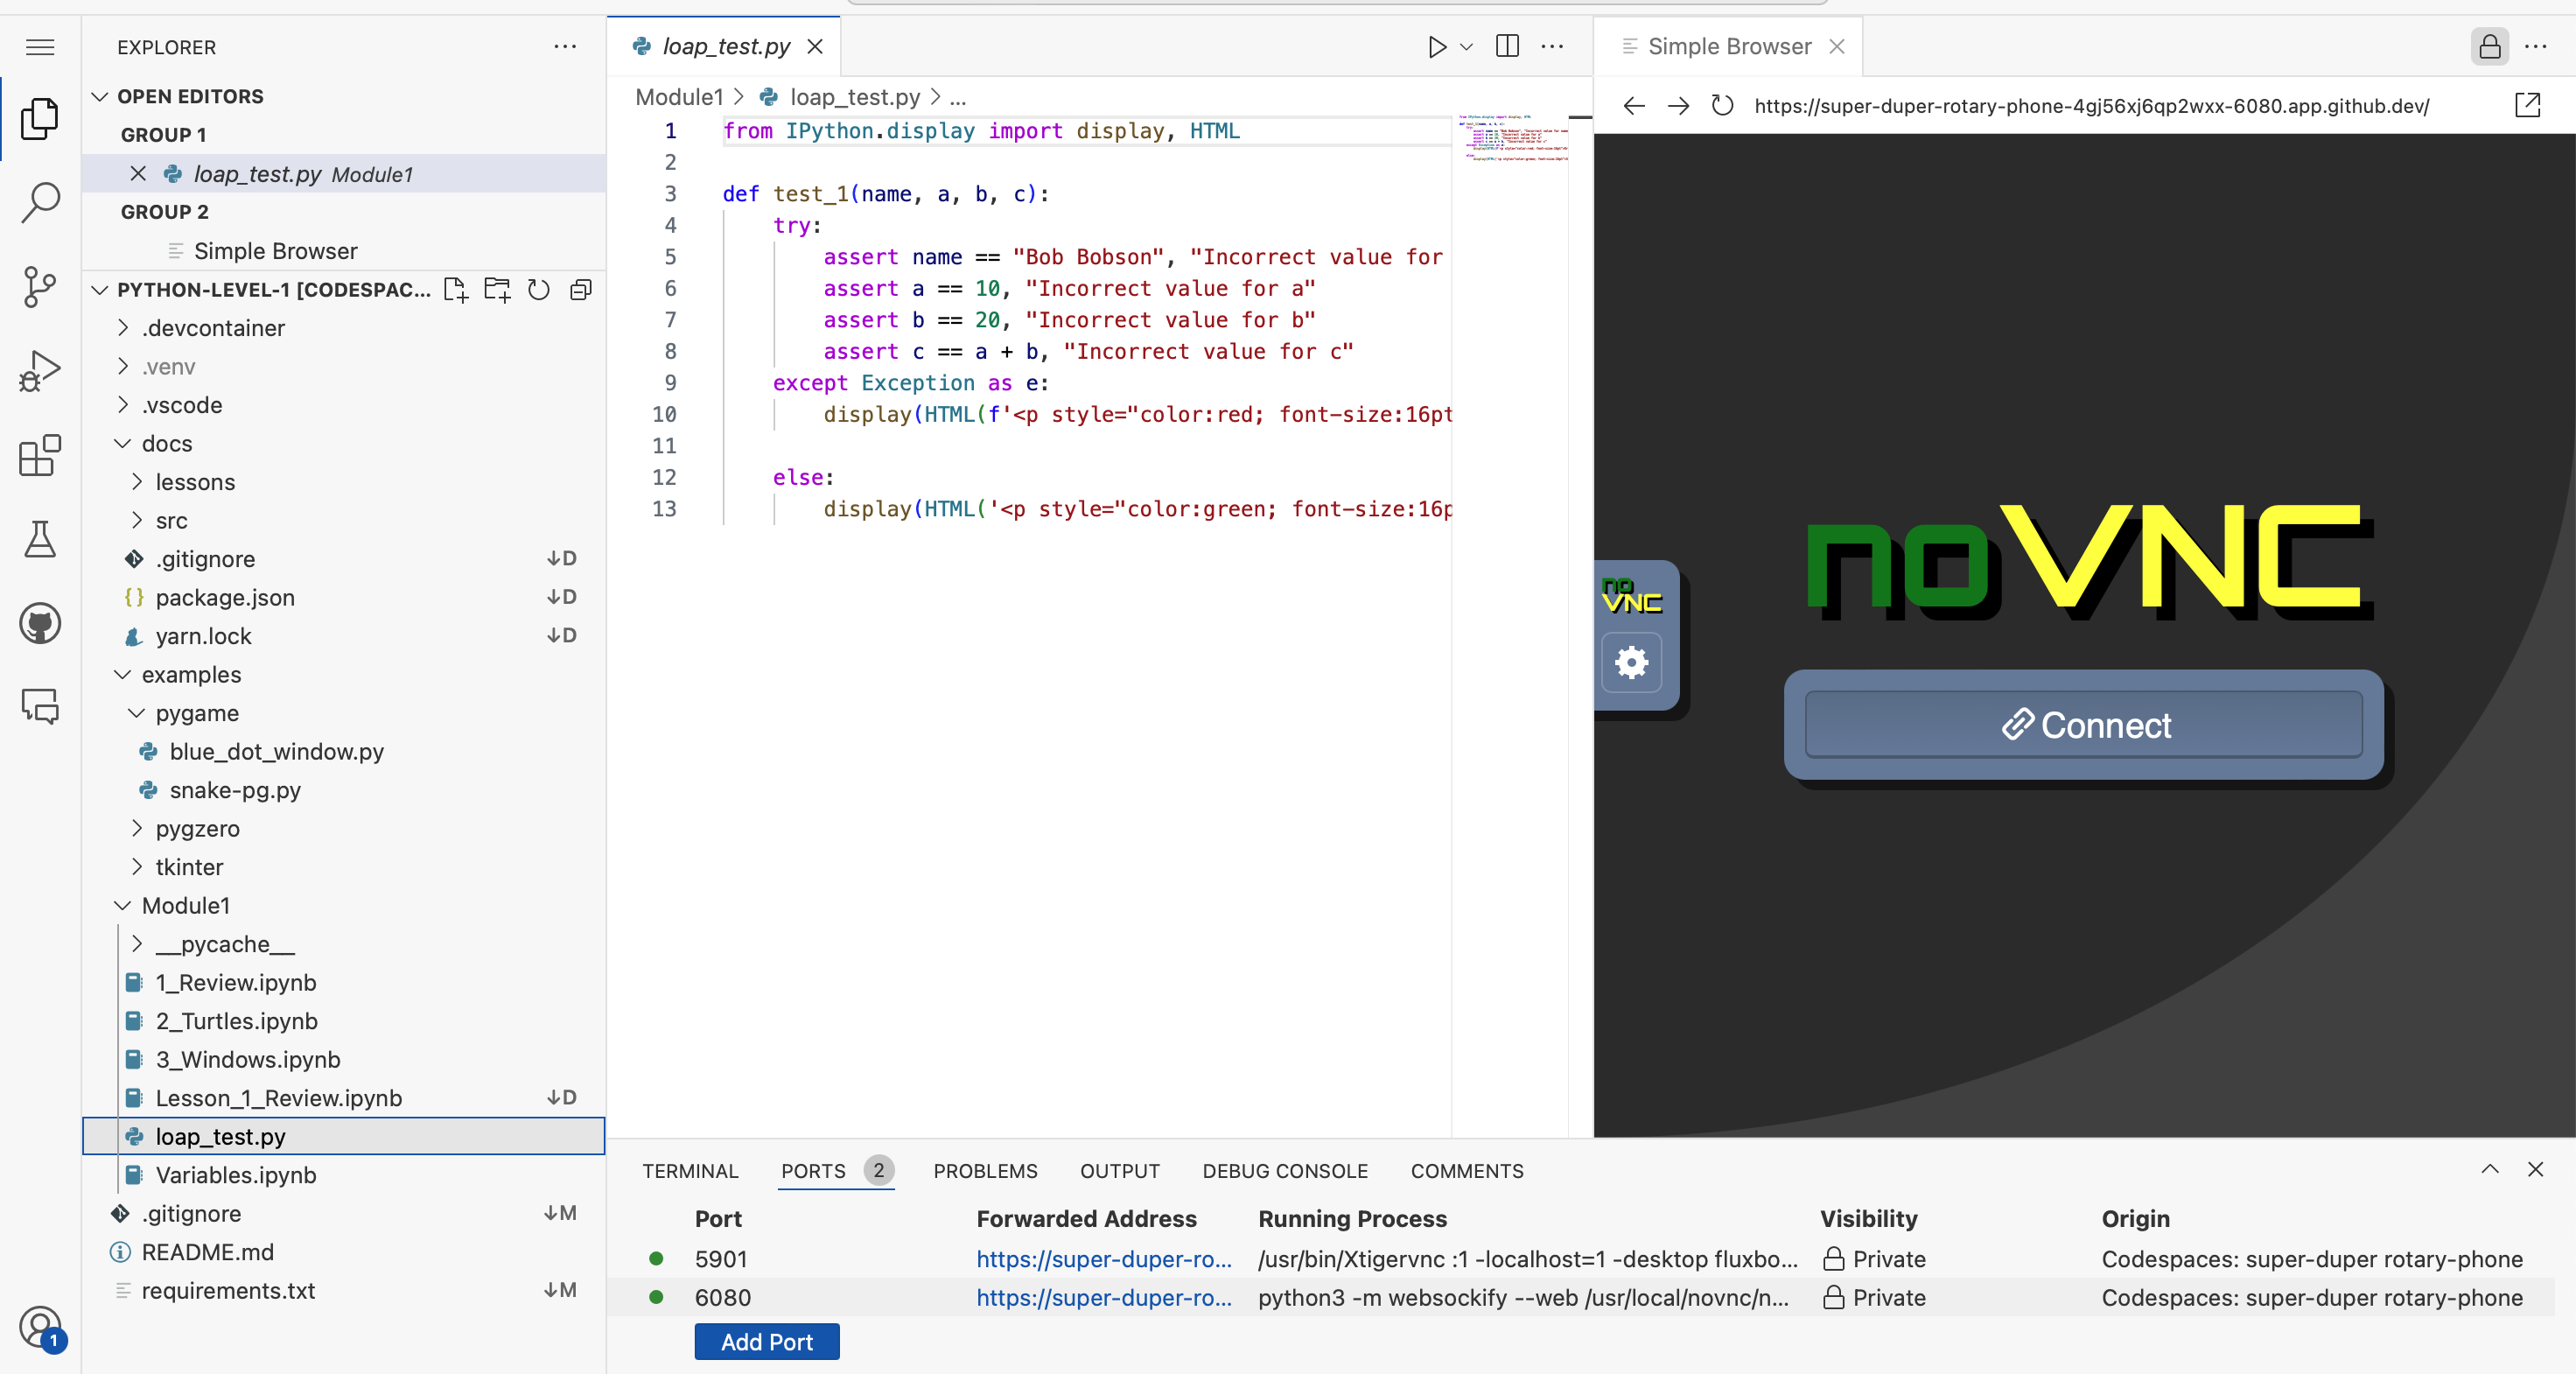
Click on “Connect”. If it asks for a password, enter the passwod: “code4life”
Troubleshooting: if the “Simple Browser” pane takes up the whole editor area, try grabing the “Simple Browser” tab and drag it to the right side of the window; there should be a pale-blue shadow that shows where the pane will go. If it looks like the browser window is not loading, try clicking the circular reload icon at the top of the window.
Now you have a virtual screen running. When your program writes to the screen, it will show up in this window.
5: Run a Program
Now, you can run a program.
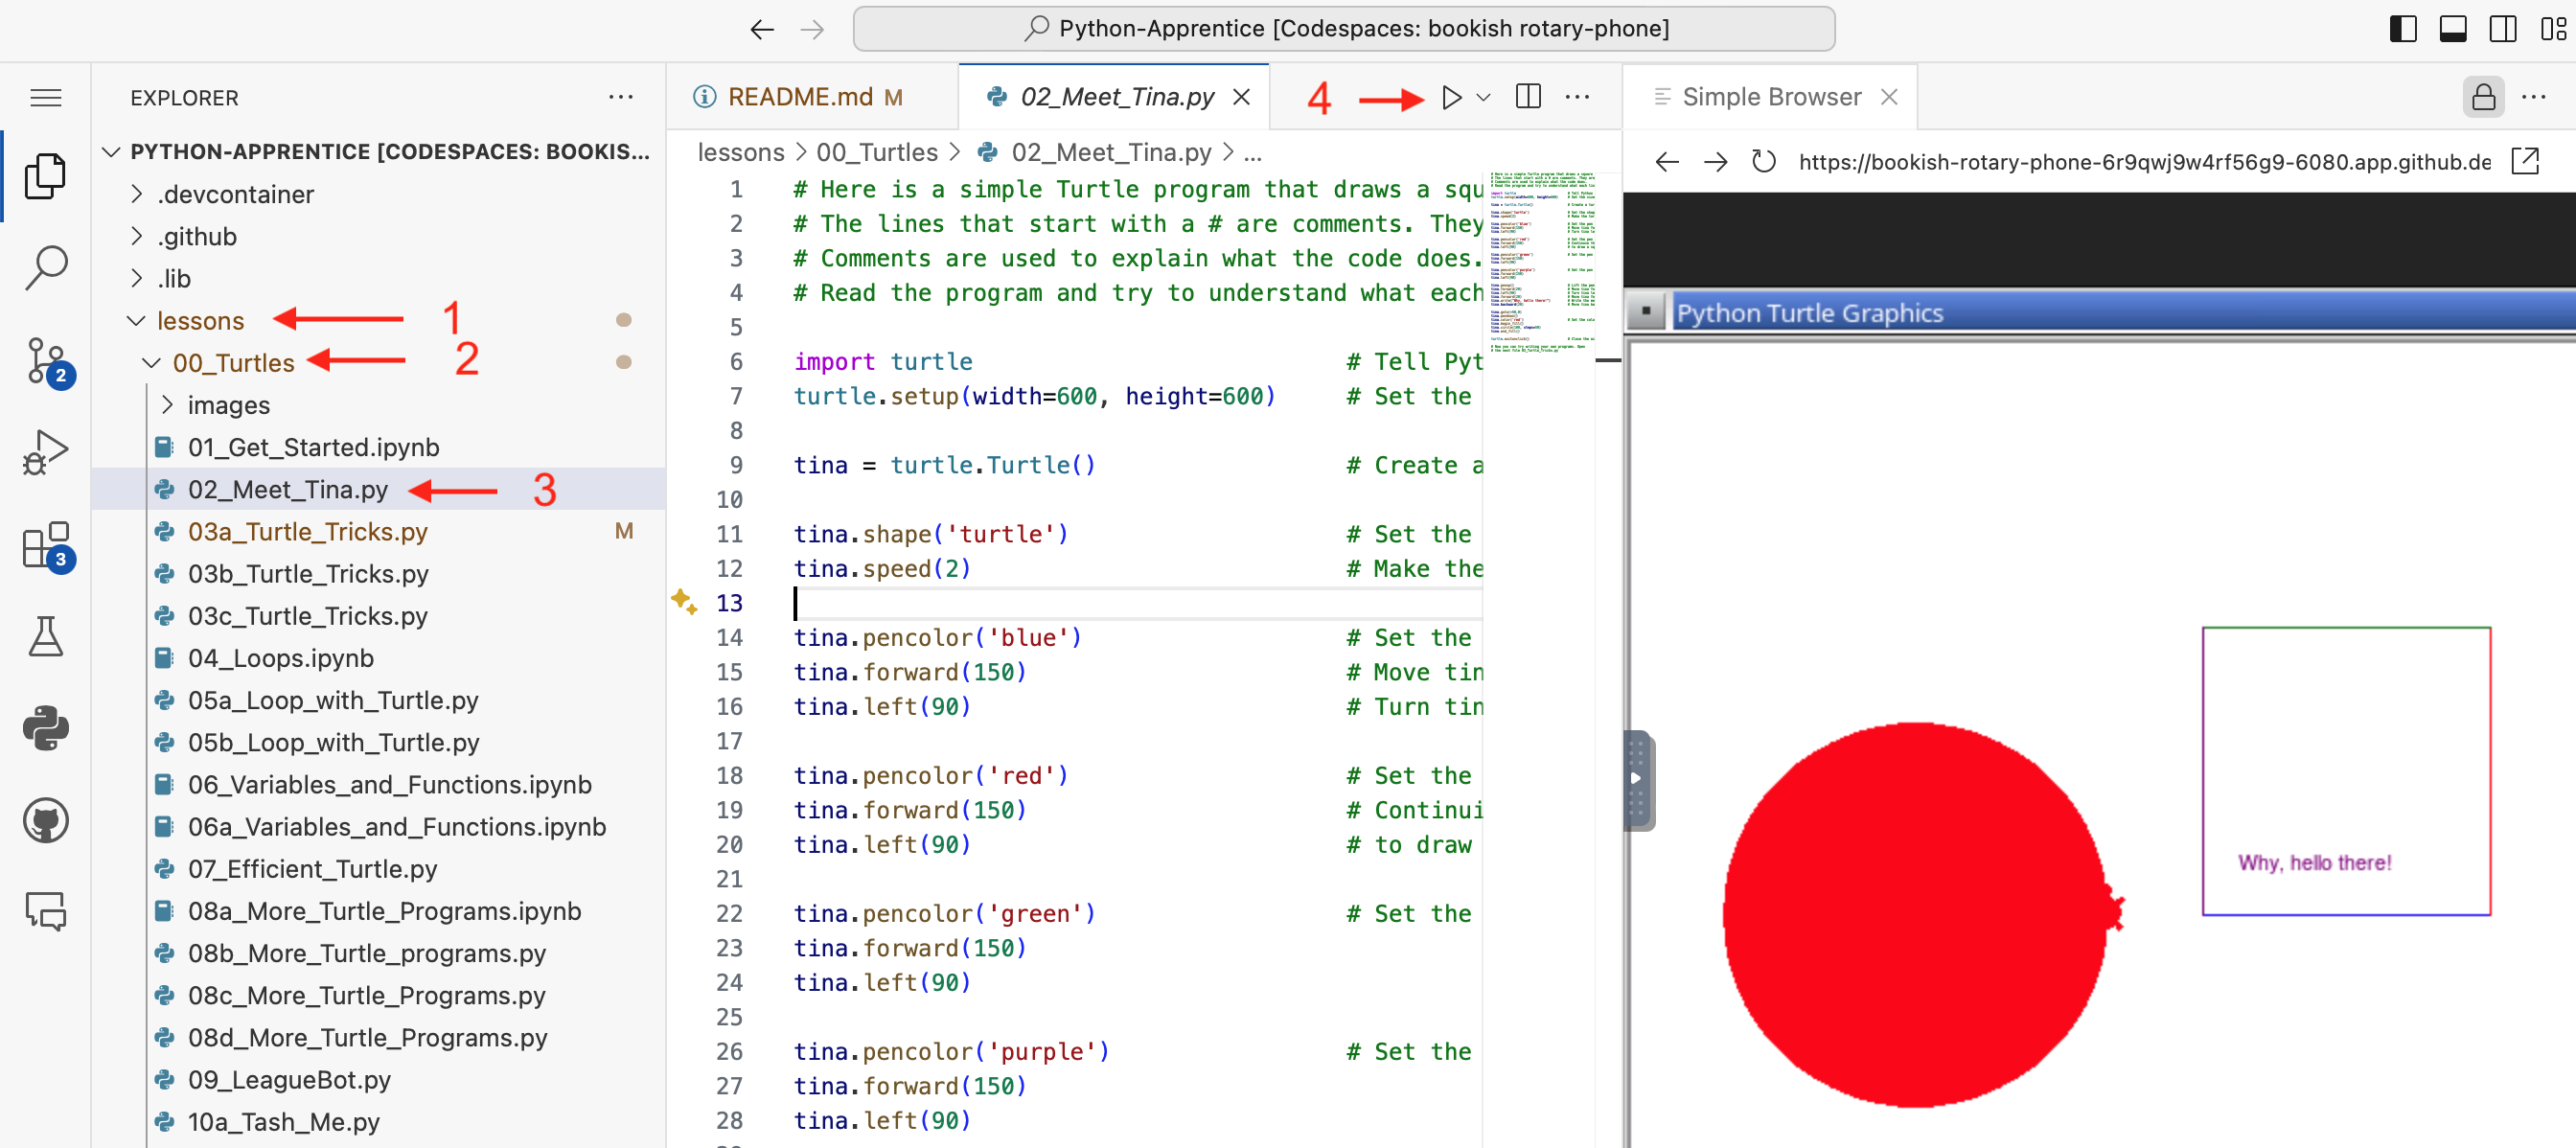
In the Explorer pane on the left side of the screen, open the
lessonsdirectory by clicking on the name “lessons”.Open the
00_Turtlesdirectory.Open the program file
02_Meet_Tina.py.At the top of the editor window for the
02_Meet_Tina.py, click on the ▶️ Run button.
You should see Tina in the virtual screen drawing shapes.
If all of these steps were completed successfully your students will have a sucessful first day.